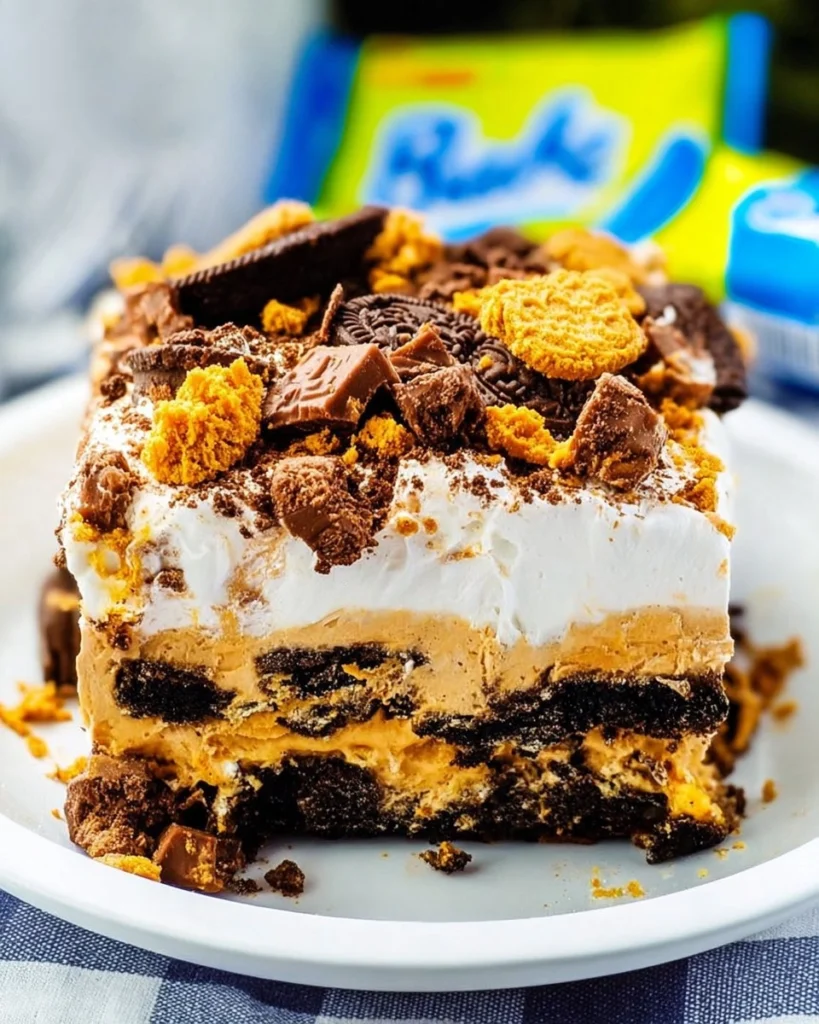
No-Bake Butterfinger Oreo Icebox Cake is a delightful dessert that’s impossible to resist. With its creamy peanut butter filling, crunchy Butterfinger bits, and the classic chocolatey goodness of Oreo cookies, each bite is rich and satisfying. Not only is it incredibly easy to prepare, requiring minimal effort, but it also offers a refreshing, no-bake option that’s perfect for warm days or whenever you have a sweet craving. You’ll find that this cake comes together quickly and provides the ultimate indulgence without the fuss of baking.
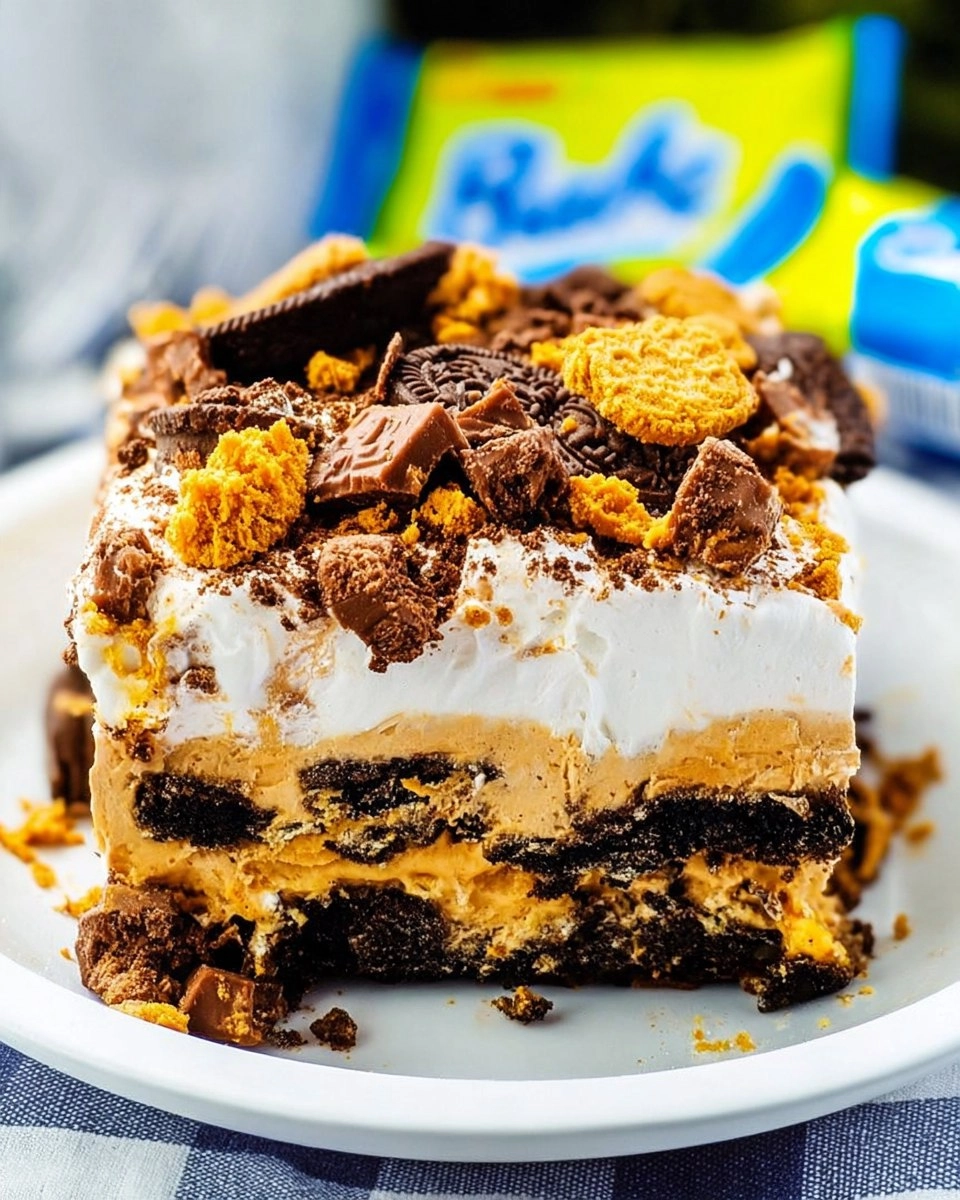
The first time I made No-Bake Butterfinger Oreo Icebox Cake, I was blown away by how effortlessly it came together. After just a short prep time of 20 minutes, I popped it in the fridge and anxiously awaited my family’s reaction. The smiles on their faces as they devoured the cake said it all! Whether you’re looking to impress guests at a gathering or simply want a delicious treat for yourself, this cake is sure to become a favorite. I can’t wait for you to give it a try!
Why You’ll Love This Recipe
- Simple & Quick: Prep is just 20 minutes, making it the perfect last-minute treat.
- Irresistible Flavor: The combination of peanut butter, whipped cream, and Butterfinger provides a flavor explosion.
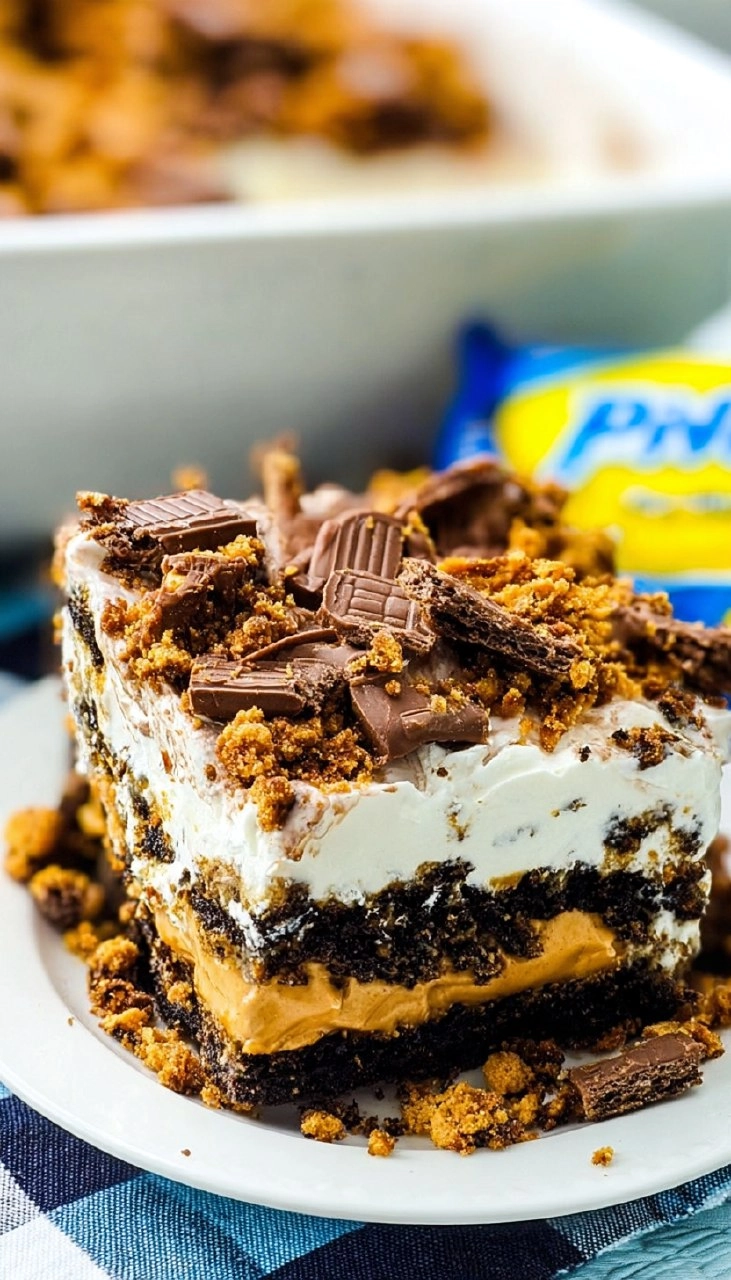
- Eye-Catching Appeal: Layers of Oreos and cream are as fun to look at as they are to eat.
- Flexible Serving: Perfect for dessert after dinner, snack time, or even a midday pick-me-up.
- No-Bake Convenience: Great for hot days — no need to turn on the oven!
Ingredients You’ll Need
- 2 1/4 cups whipping cream: This forms the light and fluffy base of your cake, creating a luscious texture. Make sure it’s cold for better whipping.
- 1/3 cup sugar: Sweetens the whipped cream, adding just the right amount of sweetness. You can adjust slightly based on your taste.
- 8 ounces softened cream cheese: Provides a rich and creamy consistency in the filling. Ensure it’s at room temperature for easy mixing.
- 1 cup creamy peanut butter: Adds that iconic peanut flavor and smoothness. Feel free to use crunchy if you prefer a bit of texture.
- 1 cup powdered sugar: Gives the filling a sweet touch and helps it hold the structure. Sift it before using if it’s lumpy.
- 2 teaspoons vanilla extract: Enhances the overall flavor, adding a lovely warmth to the dessert.
- 1 1/2 cups chopped Butterfingers: These provide the crunch and a caramel-like taste, making the cake even more indulgent. You might want to chop them a bit smaller for easier layering.
- 1 package Oreo cookies: The classic chocolate cookies form the cake’s base and layers. You can use any variety of Oreos based on your preference!
How to Make No-Bake Butterfinger Oreo Icebox Cake
- Whip the Cream: Using either a hand-held electric mixer or a stand mixer with the whisk attachment, beat 2 1/4 cups whipping cream until it starts to thicken. Gradually add in 1/3 cup sugar, continuing to beat until the mixture becomes thick and creamy. Refrigerate until needed.
- Mix Peanut Butter & Cream Cheese: In a clean bowl, beat 8 ounces softened cream cheese and 1 cup creamy peanut butter together until smooth and well combined.
- Combine with Sugar & Vanilla: Add in 1 cup powdered sugar and 2 teaspoons vanilla extract, mixing until everything is fully incorporated.
- Incorporate Whipped Cream: Fold in half of the whipped cream you prepared earlier, mixing gently to keep it airy.
- Add Butterfinger Pieces: Fold in 1 heaping cup of chopped Butterfingers, saving the rest for topping.
- Layer the Oreos: Arrange a single layer of Oreo cookies at the bottom of an 8 or 9-inch square baking dish. Don’t worry if you need to break some cookies to fill the gaps.
- Spread the Filling: Spoon the cream cheese mixture on top of the Oreos, spreading it evenly.
- Add Another Layer of Oreos: Place another layer of Oreos above the cream cheese mixture, pressing down slightly to create a good structure.
- Finish with Whipped Cream: Spread the remaining whipped cream on top of the Oreos and sprinkle with the leftover Butterfingers.
- Set in the Fridge: Cover and refrigerate the cake for at least 4 hours or overnight to allow it to set perfectly.
Storing & Reheating
To store your No-Bake Butterfinger Oreo Icebox Cake, cover it tightly with plastic wrap or place it in an airtight container. It can sit at room temperature for about two hours if you’re serving it, but I recommend keeping it in the fridge where it will be good for up to 5 days. For longer storage, you can freeze it for up to 3 months. When ready to enjoy again, thaw in the fridge overnight. Note that the texture might change slightly—refresh with a dollop of whipped cream if needed!
Chef’s Helpful Tips
- Make sure your whipped cream is whipped to stiff peaks to ensure a fluffy texture in your cake.
- If you notice your cake is a little soft after refrigeration, letting it chill a bit longer can help it set more firmly.
- Don’t skip the step of folding in the whipped cream gently; this keeps the filling light and airy.
- For extra flavor, consider adding a pinch of sea salt to the peanut butter mixture.
- If you prefer a stronger chocolate flavor, you can use Double Stuff Oreos for an even creamier cake.
If you’re craving something sweet and want to impress your guests without turning on the oven, No-Bake Butterfinger Oreo Icebox Cake is your go-to recipe. It combines delicious flavors with satisfying textures, making it a versatile dessert for any occasion. Don’t hesitate to swap out ingredients based on what you have on hand or your personal preferences.
Recipe FAQs
Can I make this cake ahead of time?
Absolutely! In fact, it’s best to make this cake a day ahead. Chilling overnight allows all the flavors to meld beautifully.
How do I cut the cake cleanly?
Using a warm knife can make cutting much easier. Just dip your knife in hot water, wipe it off, and cut into the cake. This will prevent the whipped cream from smearing.
Can I use different types of cookies?
Yes, feel free to switch up the cookies! You could use chocolate chip cookies, peanut butter cookies, or any of your favorites.
What should I do if I don’t have whipping cream?
You can substitute whipping cream with a stabilized whipped topping if you prefer an even simpler approach. Just be mindful that it will change the taste slightly.
Print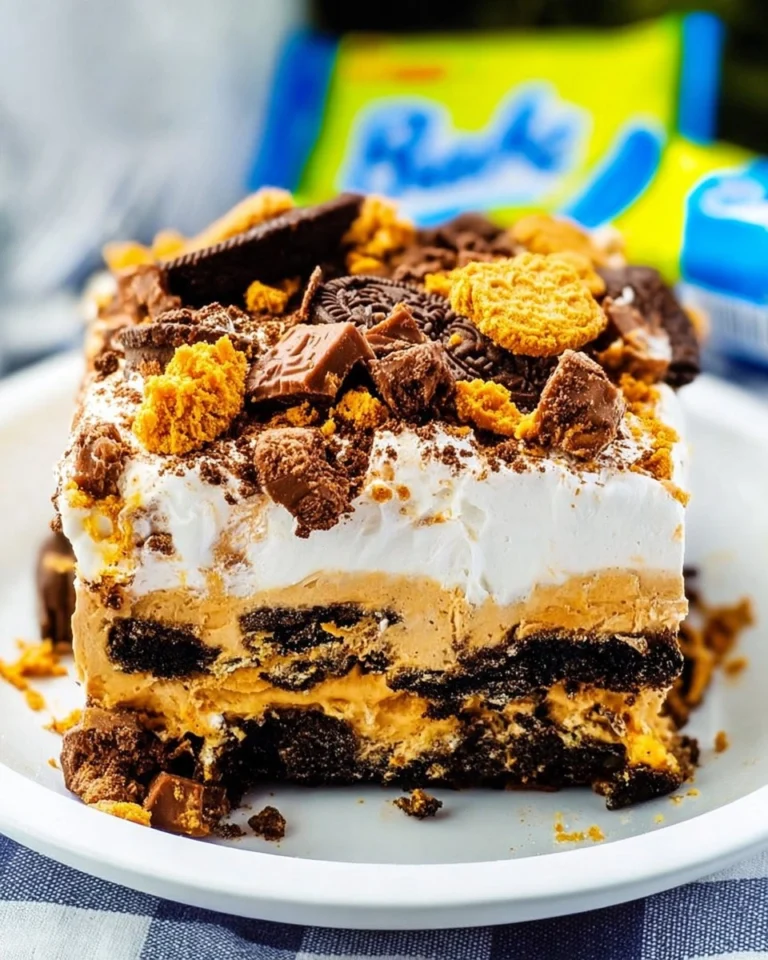
No-Bake Butterfinger Oreo Icebox Cake
This No-Bake Butterfinger Oreo Icebox Cake features rich layers of creamy peanut butter and sweet whipped cream, combined with crunchy Butterfinger and Oreo cookies. Perfect for gatherings, its effortless preparation makes it a must-try dessert for any occasion!
- Total Time: 0 hours
- Yield: 12 servings 1x
Ingredients
- 2 1/4 cups whipping cream
- 1/3 cup sugar
- 8 ounces softened cream cheese
- 1 cup creamy peanut butter
- 1 cup powdered sugar
- 2 teaspoon vanilla extract
- 1 1/2 cups chopped butterfingers
- 1 package oreo cookies
Instructions
- Beat the heavy cream using a hand-held or stand mixer until it thickens, adding 1/3 cup sugar gradually.
- In another bowl, combine the cream cheese and peanut butter, beating until mixed well.
- Add powdered sugar and vanilla to the creamed mixture, and blend thoroughly. Fold in half of the whipped cream.
- Mix in one heaping cup of chopped Butterfinger and set aside the rest for topping.
- Layer Oreo cookies in the bottom of an 8 or 9-inch square baking dish, breaking them to fit if necessary.
- Spread the cream cheese mixture over the layer of Oreos.
- Add another layer of Oreos atop the cream cheese mixture.
- Top with the remaining whipped cream and sprinkle with the rest of the Butterfingers.
- Cover and refrigerate for at least 4 hours or overnight before serving.
Last Step:
Please leave a rating and comment letting us know how you liked this recipe! This helps our business to thrive and continue providing free, high-quality recipes for you.Notes
For the best flavor, allow the cake to chill overnight.
Feel free to adjust the amount of Butterfingers for your taste preference.
You can substitute the peanut butter with other nut butters if desired.
- Prep Time: 20 minutes
- Cook Time: No Cook
- Category: Dessert
- Method: No-Bake
- Cuisine: American
Nutrition
- Serving Size: 1 slice
- Calories: 350
- Sugar: 18g
- Sodium: 230mg
- Fat: 25g
- Saturated Fat: 12g
- Unsaturated Fat: 8g
- Trans Fat: 0g
- Carbohydrates: 27g
- Fiber: 1g
- Protein: 4g
- Cholesterol: 75mg