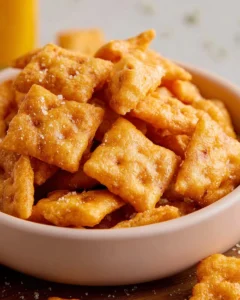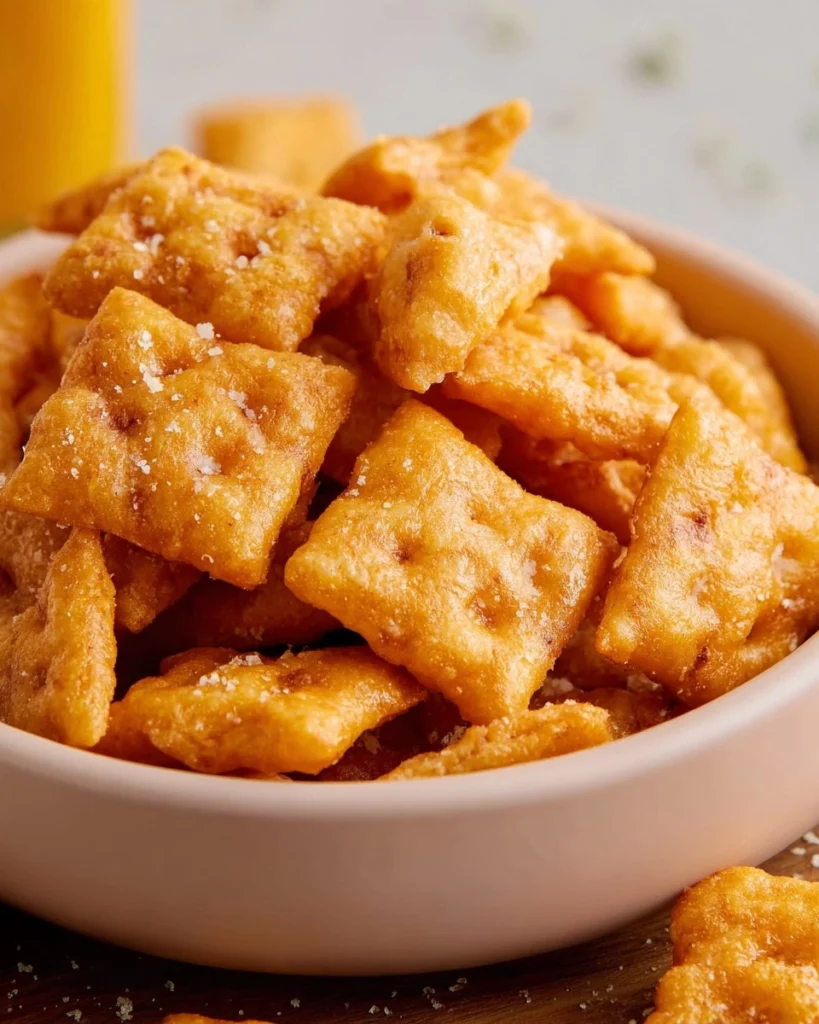
The crispy, cheesy crunch of homemade Cheez-Its is one of those delightful snacks that takes you right back to your childhood. There’s something undeniably satisfying about sinking your teeth into a perfectly baked cracker with rich cheddar flavor. Unlike the store-bought kind, which often falls short in both taste and texture, these homemade gems are not only fresh but also bursting with flavor. With the comforting aroma of melted cheese wafting through your kitchen, you’ll wonder why you ever settled for anything less.
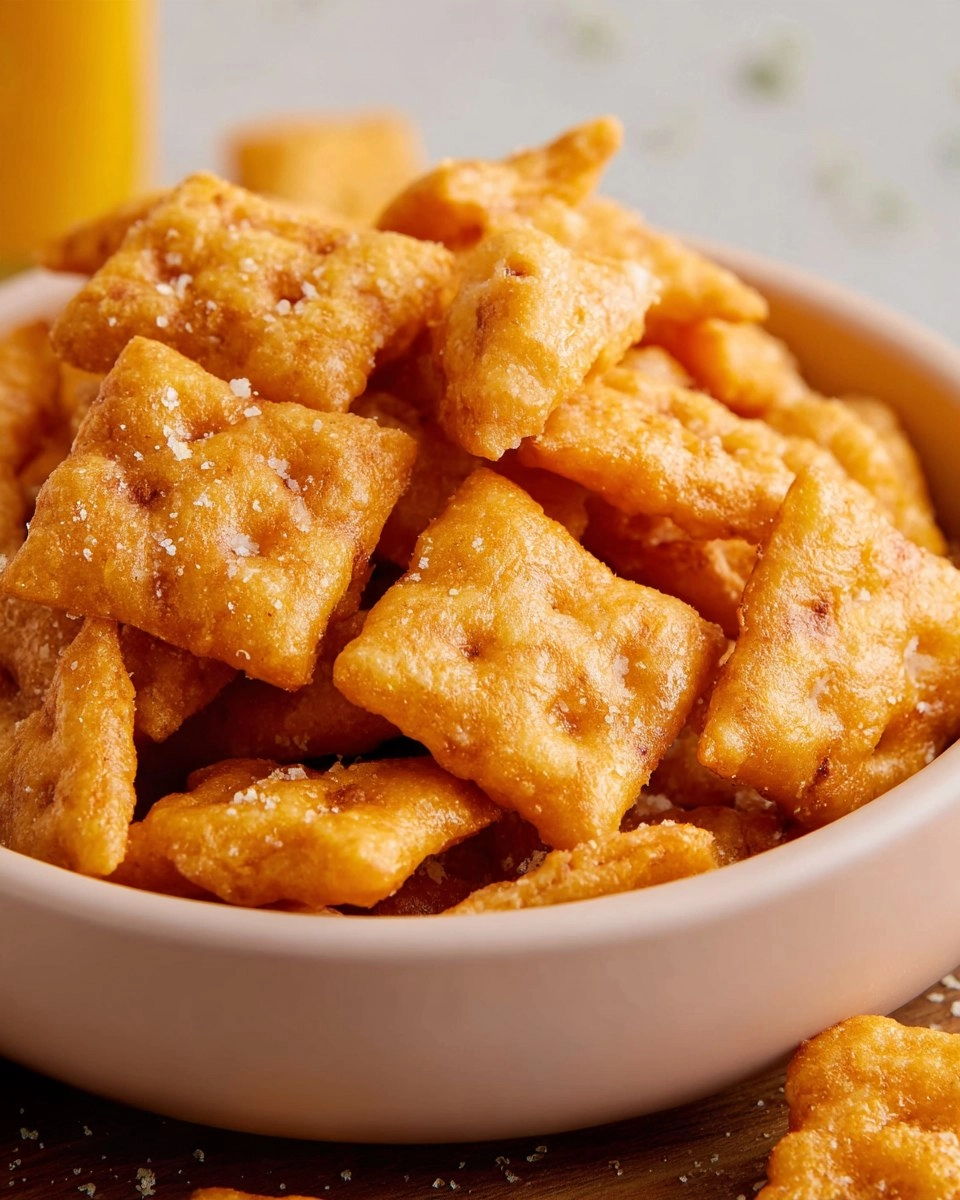
I can still remember the first time I made these crispy cheddar crackers. With just a handful of simple ingredients, I crafted a batch that soon disappeared in a matter of minutes. Everyone was hooked! These homemade Cheez-Its truly are a crowd-pleaser, perfect for casual snacking, parties, or even as an addition to your lunchbox. So grab your apron and get ready to impress your friends and family with this easy recipe!
Why You’ll Love This Recipe
- Simple & Quick: Preparing these delicious crackers is a breeze and can be done in just about 20 minutes, plus baking time!
- Irresistible Flavor: With sharp cheddar and a touch of garlic, every bite offers that perfect cheesy kick.
- Eye-Catching Appeal: Their cute, handmade appearance makes these crackers not just tasty but visually delightful as well.
- Flexible Serving: Whether you need a game-day snack, a movie night treat, or a playful addition to a cheese board, these snacks are perfect for any occasion.
- Diet-Friendly Options: For gluten-free enthusiasts, simply substitute with gluten-free flour while still enjoying that cheesy goodness.
Ingredients You’ll Need
- 1 cup (127 grams) all-purpose flour: This forms the base of your crackers. It’s essential for achieving that classic crispy texture. For gluten-free options, you can substitute with a 1:1 gluten-free flour blend.
- 1/4 cup (57 grams) cold unsalted butter, cubed: Using cold butter is crucial as it helps create a flaky texture in the crackers.
- 8 oz sharp cheddar cheese, freshly grated: Always opt for freshly grated cheese. Pre-grated cheese often lacks flavor and can contain anti-caking agents that can alter the texture of your crackers.
- 1/2 teaspoon granulated sugar: This dusting of sweetness rounds out the savory flavor of the cheese.
- 1/4 teaspoon paprika: A dash of paprika adds a nice depth of flavor, making your crackers even more irresistible.
- 1/4 teaspoon garlic powder: Garlic powder lends a gentle aroma and taste that complements the cheese beautifully.
- 1/8 teaspoon fine sea salt: Enhances flavor, ensuring your Cheez-Its taste amazing.
- 1/4 cup (59 grams) cold water: This brings the dough together. Make sure it’s ice-cold for best results.
- Sea salt, for topping: A sprinkle on top elevates the flavor and adds a delightful crunch to every bite.
How to Make Cheez-Its
- Prep the Dough: In a food processor, combine 1 cup all-purpose flour, 1/4 cup cold unsalted butter (cubed), 8 oz freshly grated sharp cheddar cheese, 1/2 teaspoon granulated sugar, 1/4 teaspoon paprika, 1/4 teaspoon garlic powder, and 1/8 teaspoon fine sea salt. Pulse until the mixture resembles coarse crumbs.
- Combine with Water: Add 1/4 cup cold water and blend until the dough begins to come together. You want it to be cohesive yet not overly wet.
- Chill the Dough: Shape the dough into a thick square, wrap it tightly in plastic wrap, and refrigerate for at least 1 hour. This helps relax the gluten and enhances flavor.
- Preheat and Prepare Pans: Preheat your oven to 400°F (200°C) and line two baking sheets with parchment paper.
- Roll Out the Dough: On a sheet of parchment paper, roll the chilled dough into an 11×14-inch rectangle, ensuring it is no thicker than 1/8 inch.
- Cut the Crackers: Using a fluted pastry wheel, pizza cutter, or a sharp knife, cut the dough into 1 1/4-inch squares. Transfer the pieces to the baking sheets, spacing them about 1/4 inch apart. If you find any squares are thicker than 1/8 inch, simply re-roll and cut again.
- Poke Holes: Use the bottom of a straw, skewer, or chopstick to poke a large hole through the center of each cracker. This step is essential as it allows steam to escape during baking.
- Chill Once More: Pop the trays back in the fridge for about 10 minutes to firm up the dough before baking, which helps the crackers keep their shape.
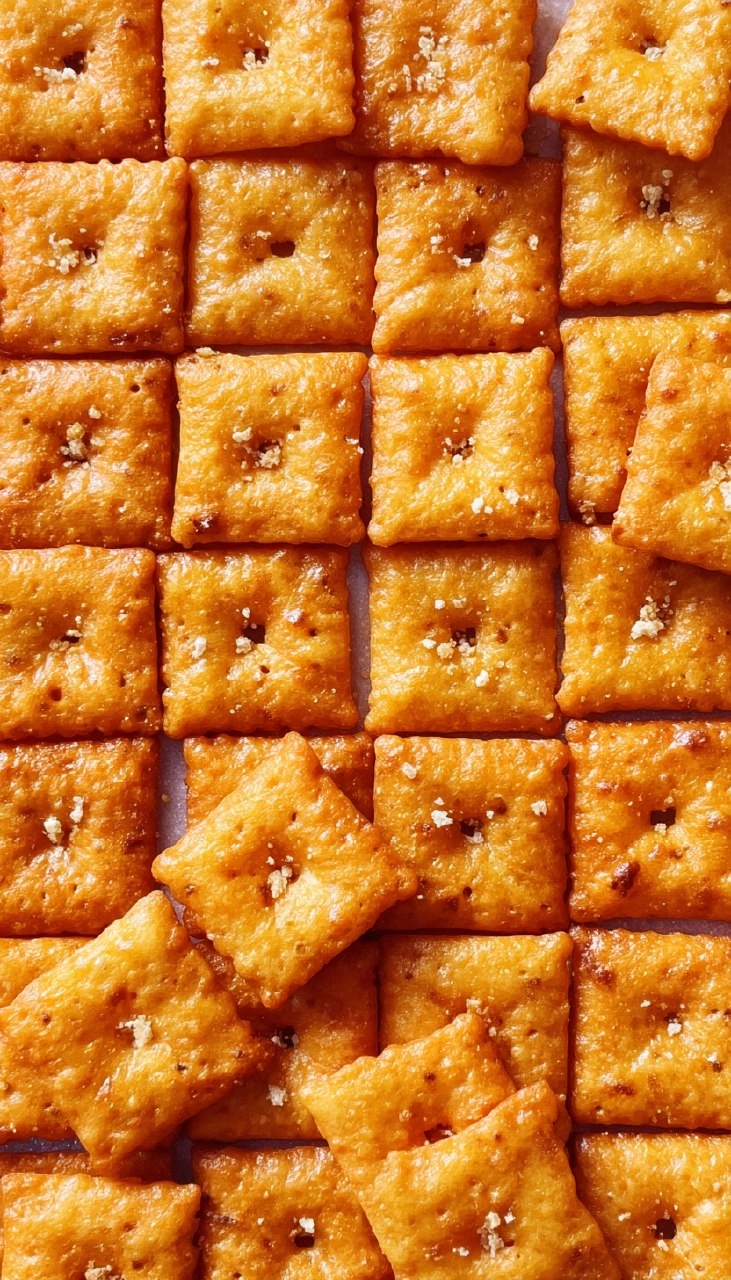
- Season and Bake: Lightly sprinkle sea salt on the top of each cracker, and then bake for 15-20 minutes or until they’re puffed, golden brown on top, and crisp on the bottom.
- Cool Down: Allow the crackers to cool on the baking sheet for 5 minutes, then transfer them to a wire rack to cool completely before devouring. Store any leftover crackers in an airtight container at room temperature, where they’ll stay fresh for about a week. If they soften during storage, you can refresh them by popping them in a 300°F oven for about 5 minutes and then letting them cool again.
Storing & Reheating
To best enjoy your homemade Cheez-Its, store them in an airtight container at room temperature for up to one week. If you have leftovers, they can be refrigerated for a few days, but make sure to use a container that seals tightly. For longer storage, you can freeze the crackers for up to three months. When you’re ready to enjoy them again, simply reheat in a 300°F oven for about 5 minutes; this revives their delightful crispness. Just a heads up: the flavor may slightly change after freezing, but they will still taste amazing!
Chef’s Helpful Tips
- Don’t Overwork the Dough: When mixing, handle the dough as little as possible to keep those crackers light and crispy.
- Use Cold Ingredients: Keeping the butter and water cold helps maintain the right texture in your crackers.
- Cut Uniformly: Cutting all your crackers the same size ensures even baking. So grab a ruler if necessary!
- Taste Test: Feel free to add more spices or herbs to the mixture for customizable flavors.
- Make Ahead: You can prepare and cut the dough in advance, then freeze it. When you’re ready, just bake it straight from frozen, adding a minute or two to the baking time.
These homemade Cheez-Its are not just a fantastic alternative to the store-bought version; they offer a chance to get creative in your kitchen. The satisfaction of baking your own delicious snacks is unmatched, and they’ll impress everyone who’s lucky enough to get a taste. Don’t hesitate to experiment with different cheeses or spices to create your unique twist on this classic cracker. You’ll love the versatility and ease of this recipe. So, roll up your sleeves and enjoy the crunchy, cheesy goodness that is waiting for you!
Recipe FAQs
Can I use a different type of cheese?
Absolutely! While sharp cheddar cheese is the star of this recipe, feel free to experiment with other cheese varieties like gouda, pepper jack, or even a mix for dynamic flavors. Just make sure it’s freshly grated for best results!
How can I make these gluten-free?
For a gluten-free version, substitute the all-purpose flour with a gluten-free flour blend. Ensure that the blend contains xanthan gum or add it separately to replicate the texture you’d achieve with regular flour.
Can I add flavors or spices?
Yes! This recipe is quite flexible. You can add a pinch of cayenne for heat, Italian herbs for a Mediterranean twist, or even some nutritional yeast for a cheesy flavor boost. Get creative!
How do I refresh leftover Cheez-Its?
If your Cheez-Its lose some crispness while stored, you can easily revive them. Reheat in a preheated oven at 300°F for about 5 minutes. They’ll regain that delightful crunch you love.
Print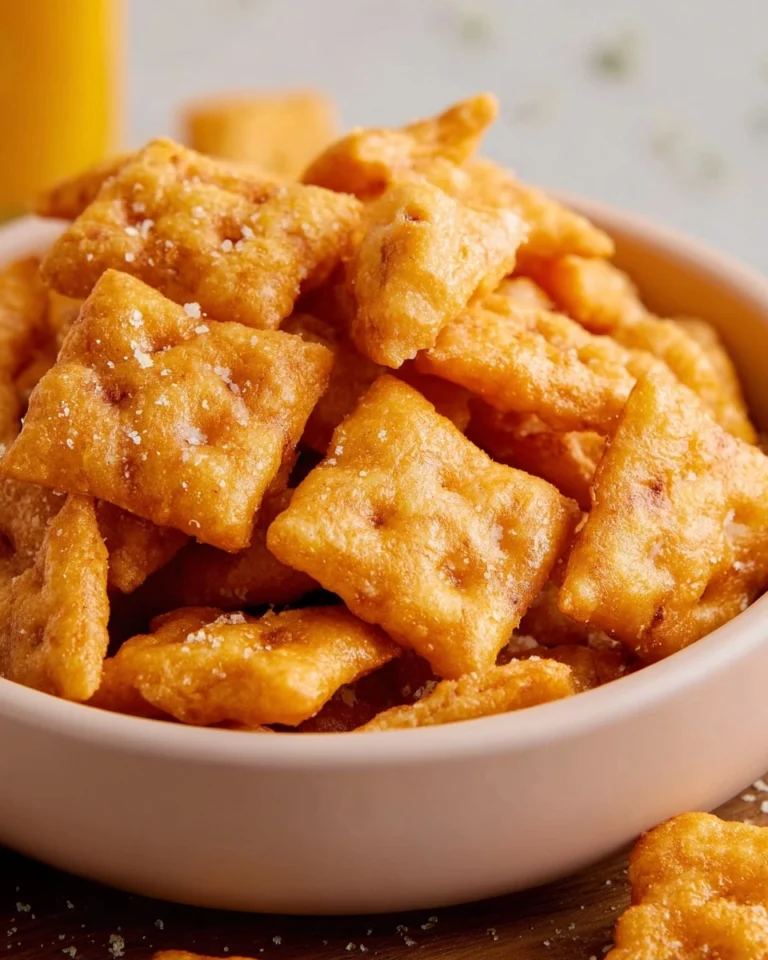
Cheez-Its
Homemade Cheez-Its are a delightful snack with an irresistible cheesy flavor. Made with fresh cheddar and baked to a perfect crisp, they are simple to prepare and delightful to share. These crispy cheddar crackers are ideal for gatherings or a tasty treat at home.
- Total Time: 0 hours
- Yield: 70 servings 1x
Ingredients
- 1 cup (127 grams) all-purpose flour
- 1/4 cup (57 grams) cold unsalted butter, cubed
- 8 oz sharp cheddar cheese, freshly grated
- 1/2 teaspoon granulated sugar
- 1/4 teaspoon paprika
- 1/4 teaspoon garlic powder
- 1/8 teaspoon fine sea salt
- 1/4 cup (59 grams) cold water
- Sea salt, for topping
Instructions
- In a food processor, combine flour, butter, cheese, sugar, paprika, garlic powder, and salt. Pulse until the mixture resembles coarse crumbs.
- Add cold water and blend until the dough comes together.
- Shape the dough into a thick, flat square. Wrap tightly in plastic and refrigerate for 1 hour.
- Once chilled, preheat your oven to 400°F. Line two baking sheets with parchment paper.
- On a separate sheet of parchment, roll the dough into an 11×14-inch rectangle no more than 1/8-inch thick.
- Cut into 1 1/4-inch squares using a fluted pastry wheel, pizza cutter, or sharp knife. Transfer to the prepared baking sheets, spacing them about 1/4 inch apart.
- Use the bottom of a straw, skewer, or chopstick to poke a large hole through the center of each cracker.
- Refrigerate for 10 minutes to firm up the dough.
- Sprinkle lightly with sea salt.
- Bake for 15-20 minutes, or until they’re puffed, golden brown on top, and crisp on the bottom.
- Let cool on baking sheet for 5 minutes, then transfer to a wire rack to cool completely before serving. Store in an airtight container at room temperature for 1 week. If the crackers become soft, refresh in a 300°F oven for about 5 minutes before enjoying.
Last Step:
Please leave a rating and comment letting us know how you liked this recipe! This helps our business to thrive and continue providing free, high-quality recipes for you.Notes
Make sure to use freshly grated cheddar cheese for the best flavor.
If desired, experiment with different spices for a unique twist on the flavor.
These crackers can last up to one week when stored properly.
- Prep Time: N/A
- Cook Time: 112 minutes
- Category: Snack
- Method: Baking
- Cuisine: American
Nutrition
- Serving Size: 1 cracker
- Calories: 50
- Sugar: 0g
- Sodium: 50mg
- Fat: 3g
- Saturated Fat: 2g
- Unsaturated Fat: 1g
- Trans Fat: 0g
- Carbohydrates: 4g
- Fiber: 0g
- Protein: 1g
- Cholesterol: 10mg